
why make this recipe
Pumpkin tart is a beloved dessert that captures the essence of the fall season. With its rich flavors of pumpkin and warm spices, it is perfect for holiday gatherings or cozy family dinners. This recipe offers an easy way to enjoy a classic dessert that can impress friends and family alike.
Making a pumpkin tart at home allows you to control the ingredients and avoid preservatives often found in store-bought desserts. Plus, the aroma of this tart baking will fill your kitchen, making it even more inviting.
equipment needed for Pumpkin Tart
To make a delicious pumpkin tart, you’ll need some basic kitchen equipment. Here is what you will require:
- 9-inch tart pan
- Mixing bowls
- Whisk
- Measuring cups and spoons
- Oven
- Cooling rack
- Pastry brush
What You Need to Make Pumpkin Tart
- 1 store-bought pie crust, rolled
- 1 large egg, beaten
- 1 can pumpkin puree (15 ounce can)
- 1/2 cup light brown sugar, packed
- 1/4 cup granulated sugar
- 1 1/2 tsp ground cinnamon
- 1 tsp ground ginger
- 1/2 tsp nutmeg
- 1/2 tsp ground cloves
- 1/2 tsp salt
- 3 large eggs
- 3/4 cup half and half
How to Cook Pumpkin Tart Step by Step
To get started, preheat your oven to 325 degrees F. This temperature ensures that your tart cooks evenly without burning. Next, take a 9-inch tart pan and grease it with shortening or butter. This step is essential as it helps to release the tart once it’s done baking.
Once your pan is prepped, take the store-bought pie crust and unroll it gently. Press it into the bottom of the tart pan, making sure it also goes up the sides. If any crust hangs over the edge, you can cut it off to create a nice, even edge. After that, brush the crust with the beaten egg. This gives the crust a lovely golden color when baked. Set the crust aside for a moment while you prepare the filling.
In a large mixing bowl, whisk together the pumpkin puree, light brown sugar, and granulated sugar. Combine these until they are well mixed, which will bring out the pumpkin’s natural sweetness. Next, add in the ground cinnamon, ground ginger, nutmeg, ground cloves, and salt. Continue whisking to ensure all the spices are evenly distributed throughout the mixture.
Now it’s time to add the eggs. Beat in all three large eggs until they are just combined with the pumpkin mixture. It’s important not to over-mix at this stage. After the eggs are incorporated, pour in the half and half and whisk until everything is well combined. The half and half will add creaminess to the filling.
Once the filling is ready, carefully pour it into the prepared pie crust. Be sure to pour slowly to avoid any spills. Place the tart into the preheated oven and bake for 50 to 55 minutes. You’ll know it’s done when the filling is a darker brown color and the center slightly jiggles when you gently shake the tart.
After baking, remove the tart from the oven and allow it to cool to room temperature. This step is crucial as it helps the filling to set up properly. Once cooled, cover the tart and chill it in the refrigerator for at least one hour. This helps enhance the flavors and allows the tart to firm up.
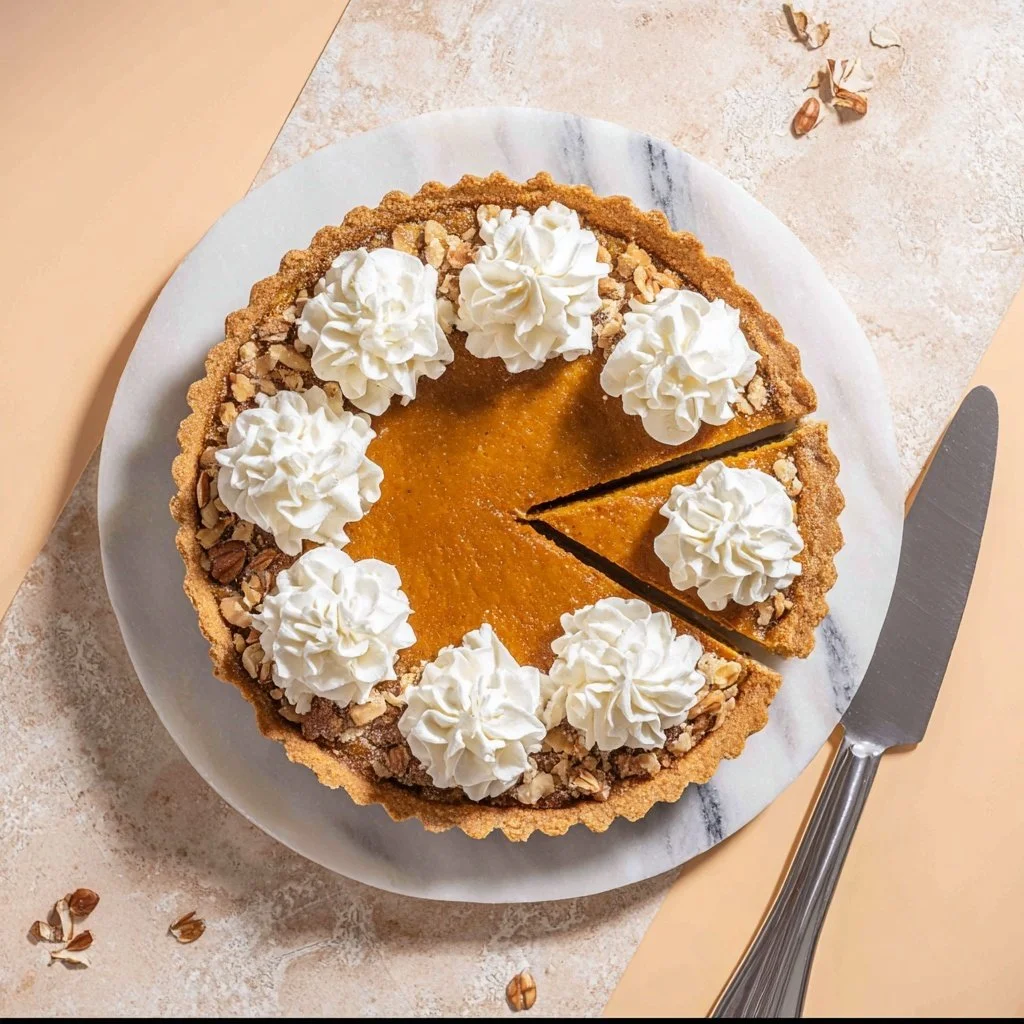
When ready to serve, carefully remove the tart pan ring. Place the tart on a beautiful platter for presentation. You can top it with some whipped cream or a sprinkle of walnuts if you desire. This adds flavor and a nice texture contrast.
how to make Pumpkin Tart
To begin making your pumpkin tart, gather all your ingredients and equipment. For the best flavor, use fresh spices and quality pumpkin puree. Having everything at hand will make the process smoother.
Follow the steps outlined above for making the crust and preparing the filling. Whisk thoroughly to ensure an even distribution of ingredients, and take your time pouring the filling into the crust. This will avoid any mess and allow for a cleaner presentation once baked.
Be patient during the baking process; a properly baked tart is key to a delicious treat. After baking, don’t rush the cooling process. Letting it come to room temperature before chilling helps prevent cracks.
how to serve Pumpkin Tart
Serving your pumpkin tart is as delightful as making it. Once chilled, slice the tart into wedges, making sure to use a sharp knife for clean cuts. Place the slices on individual plates for an elegant touch.
For an extra special treat, consider adding a dollop of whipped cream on top of each piece. A sprinkle of cinnamon or a few chopped walnuts can elevate the presentation and flavor. This makes for an inviting dessert that guests will love.
If you are serving it at a gathering, setting out a bowl of whipped cream on the side allows everyone to add their favorite toppings. This personal touch makes the experience even more enjoyable.
what to serve with Pumpkin Tart
Pumpkin tart pairs beautifully with a variety of beverages and sides. A scoop of vanilla ice cream complements the spiced flavors perfectly. The creaminess of the ice cream balances the rich filling.
Warm apple cider or a spiced chai tea can also be delightful accompaniments. These beverages enhance the autumnal feel of the dessert. For a festive touch, consider serving it with a glass of sparkling cider.
If you want to keep things simple, a hot cup of coffee or tea is always a nice choice. The warmth of the drink contrasts nicely with the coolness of the tart.
how to store Pumpkin Tart
To keep your pumpkin tart fresh, cover it with plastic wrap or place it in an airtight container. It can be stored in the refrigerator for up to four days. This allows you to enjoy leftovers without compromising quality.
If you want to keep the tart for a longer period, consider freezing it. Wrap it tightly in plastic wrap, then place it inside a freezer bag. The tart can be frozen for up to two months. When you’re ready to enjoy it, simply thaw it in the refrigerator overnight before serving.
Always check for any signs of spoilage before consuming leftovers. If you notice any unusual smells or textures, it’s best to discard the tart.
tips to make Pumpkin Tart
Here are some easy tips to ensure your pumpkin tart comes out perfectly every time. First, make sure your ingredients, especially the eggs and half and half, are at room temperature. This will help them combine smoothly.
Avoid overmixing once you add the eggs to the filling. Overmixing can introduce too much air into the mixture and lead to cracks during baking. Also, keep a close eye on the tart as it bakes. Oven temperatures can vary, so start checking for doneness a few minutes early.
If you want a deeper flavor, consider using fresh pumpkin instead of canned puree. Roast the pumpkin, scoop out the flesh, and blend it until smooth. This adds a homemade taste that is truly remarkable.
variation
The beauty of the pumpkin tart is its versatility. You can customize the spices according to your preference. For instance, you could add some allspice or even a hint of cardamom for a unique twist.
To cater to dietary restrictions, consider making a gluten-free crust using almond flour or a gluten-free pie crust. This allows more people to enjoy the dessert without compromising taste.
If you’re a chocolate lover, blending in some mini chocolate chips to the filling can offer a delightful surprise. Just be cautious not to add too many, as this could overpower the pumpkin flavor.
best time to make Pumpkin Tart
The ideal time to make pumpkin tart is during the fall and winter months, especially around Thanksgiving or Christmas. The warm spices resonate with the holiday spirit and seasonal flavors.
However, this tasty dessert is delightful any time of the year. If you’re in the mood for something sweet, why not bake it in spring or summer? Just remember, the flavor of pumpkin shines brightest when it’s cool outside.
If you come across fresh pumpkins at the market, seize the opportunity to make it right away. Fresh pumpkin can elevate your tart to a new level of flavor.
common mistakes to avoid
When making a pumpkin tart, there are a few common mistakes you’ll want to avoid. One of the most frequent issues is undercooking. Ensure that the tart is baked until the center is slightly jiggly but not runny.
Another common mistake is using pre-made crusts that are too thick. Opt for a thinner crust if possible, as this allows for a better ratio of filling to crust, enhancing the overall flavor. A thick crust can hinder the deliciousness of the filling.
Finally, be cautious when adding spices. Too much cinnamon or nutmeg can overpower the pumpkin flavor. Stick to the recommended amounts or adjust slowly based on your taste preferences.
nutritional notes
When it comes to nutrition, pumpkin is a great source of vitamins and minerals. It is rich in Vitamin A and helps support your immune system. Additionally, it contains fiber, which is beneficial for digestion.
However, the sugars and cream added in this recipe should be consumed in moderation. While this tart is a delightful treat, balance it with healthy meals throughout the day to maintain a well-rounded diet.
If you’re watching your caloric intake, consider reducing the sugar or using low-fat half and half to make a lighter version.
FAQs
Can I use fresh pumpkin instead of canned?
Yes, you can use fresh pumpkin puree. Roast a pumpkin, scoop out the flesh, and blend until smooth for a fresher flavor.
Can I make this tart ahead of time?
Absolutely! You can make the tart a day in advance and keep it in the refrigerator until you are ready to serve.
Is it necessary to chill the tart before serving?
While it’s not mandatory, chilling the tart helps enhance the flavors and ensures the filling sets properly.
conclusion
Making a pumpkin tart is a delightful way to celebrate autumn flavors. With a straightforward process and simple ingredients, you can create a dessert that will impress everyone around your table.
Enjoy the rich tastes of pumpkin and spices while enveloping your home in cozy scents. Whether for a holiday gathering or a weekly treat, this tart is sure to please any crowd. Don’t forget to share your delicious creation with friends and family; after all, the joy of sharing good food is what makes these moments memorable.